Painting your cabinets can feel daunting when the kitchen is the heart of your home. Here is how to paint kitchen cabinets: remove the doors, degrease, prime, sand lightly, apply even coats, then let everything dry before reattaching.
This guide is part of our wider collection of home improvement projects.
| Item | Value |
|---|---|
| Primer dry time before sanding (brush-and-roller guide) | At least 24 hours |
| Dry time before reattaching doors and hardware | At least 24 hours |
| Scuff-sanding grit before priming (spray guide) | 80 grit |
| Fine-sanding grit after priming (spray guide) | 320 grit |
| Dry time before fine sanding (spray guide) | 30-45 minutes |
These figures come from two Sherwin-Williams guides, the cabinet painting project page and the cabinet refinishing guide (PDF). Products and instructions can change, so check the source and your product label before you rely on them.
What to gather and how to set up your space
Painting is a popular route because, according to Sherwin-Williams’ project page, it is simpler and more cost-effective than replacing cabinets entirely. The work is mostly patience and preparation rather than special skill.
Choose a temperature-controlled room that you can block off from pets and foot traffic, as the refinishing guide advises. Protect floors and nearby surfaces before you open any paint.
A basic kit covers most of the job:
- A cleaner degreaser and clean rags
- Wood filler or putty for holes and surface imperfections
- Primer made for cabinets, plus a test spot to check it bonds
- Sanding sponges or sandpaper in a few grits
- An angled brush and a mini roller
- Cabinet paint, painter’s tape, and baggies for hardware
Prep: remove, clean, patch and prime
Good prep decides how the finish lasts. The refinishing guide calls its wash-and-prep stage the most important step and says not to overlook it, and it is the part most people rush.
- Remove all doors, drawers and hardware. This keeps paint off hinges and handles and prevents buildup on door edges that could affect how they work, per the project page.
- Number every door and drawer, and keep hardware in labelled baggies so nothing gets mixed up.
- Patch holes and imperfections with wood filler or putty. If you are fitting new hinges or handles, drill and patch the old holes before you start painting.
- Wash with a cleaner degreaser to remove built-up grease and oil, rinse with clean water and let the surfaces dry.
- Test your primer on a hidden spot and let it dry to check adhesion before you commit.
- Prime the rest of the cabinets if the test goes well.
Do you have to sand? The project page says that, with its bonding primer, sanding may not be necessary for most clean, paintable surfaces. The spray-system guide, though, recommends scuff sanding with 80 grit sandpaper or a sanding sponge to help primer adhere, as noted in the refinishing guide.
Surfaces that are not clean, dry and dull can weaken paint adhesion and shorten how long the finish lasts, according to the project page. If your test spot shows any doubt, scuff sand and test again.
Wipe sanding dust away with a damp rag and clean water, then let the surface dry, as the refinishing guide directs. Mask or tape off the cabinet box if you are painting in place, because only the face and interior edges need paint.
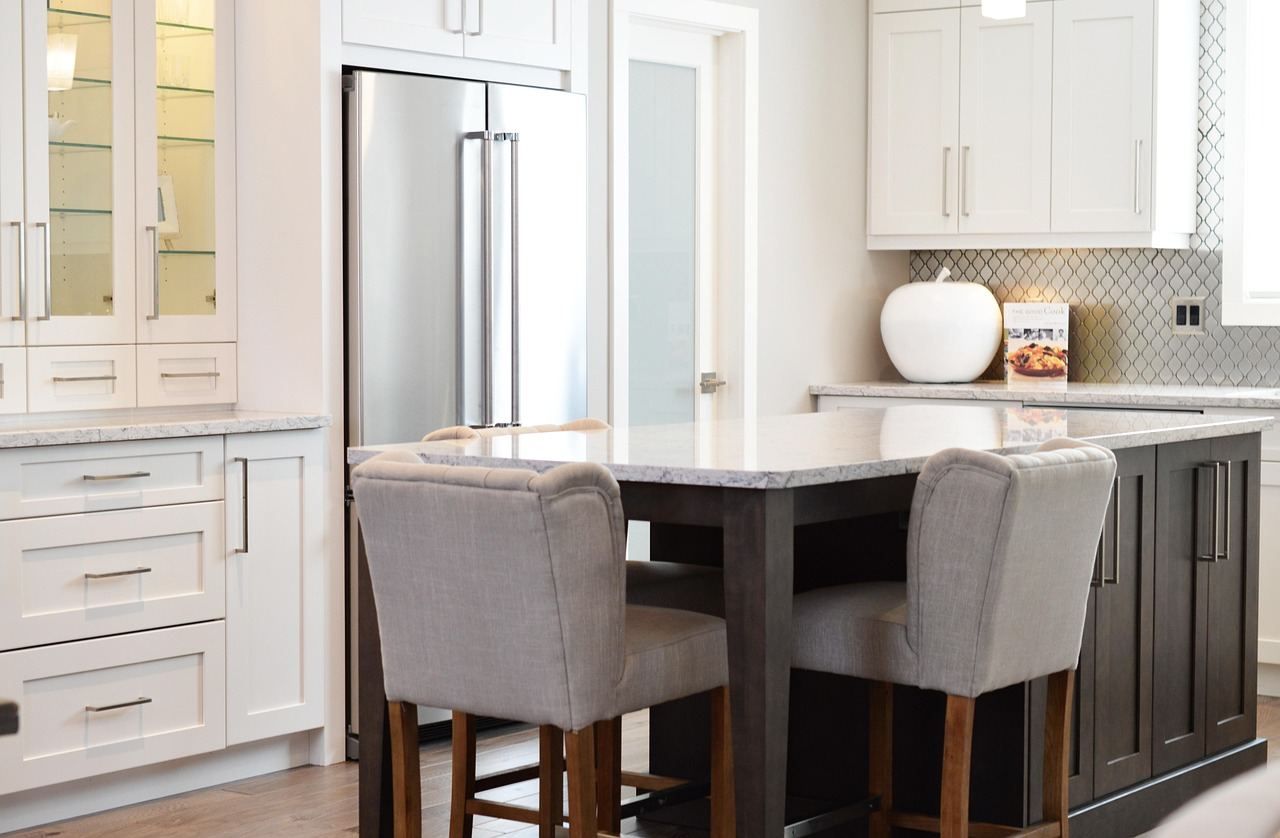
How to paint kitchen cabinets for a smooth finish
Once primed, the project page says to let the primer dry for at least 24 hours, then sand again with very fine grit sandpaper and wipe the surfaces with a damp cloth.
The spray-system guide is more specific and names 320 grit sandpaper for sanding after the primer has dried. Imperfections left under the finish coat will be magnified, as the refinishing guide warns.
For the first coat, use this sequence from the project page:
- Start with an angled brush on recessed or detailed areas, avoiding brush marks on flatter areas.
- Immediately roll the remaining flat areas with a mini roller.
- Smooth any overlapping brush marks or drips as you go for a uniform look.
Apply paint in the direction of the wood grain and take your time. To avoid runs, use the right amount of paint and do not overwork it, per the refinishing guide.
Sheen matters in a busy kitchen. Sherwin-Williams, as one neutral example, describes its Emerald Urethane Trim Enamel in Gloss, Semi-Gloss or Satin sheen as having excellent flow and leveling for a smooth, durable finish, according to its project page. Whichever product you choose, follow its own recoat and cure directions.
Drying, reattaching and fixing drips
Resist the urge to rehang doors early. The refinishing guide says to allow at least 24 hours of dry time, the longer the better, to avoid dents or peeling when you reattach doors, drawers and hardware. Numbered doors and labelled baggies make this part quick.
If you spot drips or runs after the paint has dried, the guide suggests removing them with a putty or razor knife, lightly sanding the area and repainting if necessary. In the same guide, the fine-sanding stage calls for letting the coat dry 30-45 minutes and then scuff sanding with 320 grit to remove bumps, lint or dust, as laid out in the refinishing guide.
When the cabinets are back on, you may want to carry the refresh further. Our guide on how to update a fireplace is one option for another focal point in the home.
Safety: lead dust and spraying
Older paint needs care. The refinishing guide warns that if you scrape, sand or remove old paint, you may release lead dust, which is toxic and especially risky for children and pregnant women.
It advises wearing a NIOSH-approved respirator and cleaning up carefully with a HEPA vacuum and a wet mop. For US readers, the guide lists the National Lead Information Hotline at 1-800-424-LEAD; in Canada it points to your local health authority, as shown in the refinishing guide.
Spraying is a different job from brushing. The guide’s 2025 edition says its Gallery Series system is for professional use only and formulated for spray application, and it notes that spraying installed cabinets creates unique challenges, so most home projects stick to brush and roller.
If you want a quick wall refresh to go with the new cabinets, you can also read our guide on how to install peel and stick wallpaper.
Frequently asked questions
Do I have to sand kitchen cabinets before painting?
Show answer
Not always. One Sherwin-Williams guide says sanding may not be necessary for most clean, paintable surfaces when you use its bonding primer, but a test spot should confirm adhesion first. Another guide in the same source pack recommends scuff sanding with 80 grit.
Should I use a brush or a roller?
Show answer
Use both. An angled brush handles recessed or detailed areas, and a mini roller covers the flat areas right after, which helps smooth brush marks and drips.
How long should I wait before putting doors back?
Show answer
The refinishing guide says to allow at least 24 hours of dry time, and longer is better. Always check your own paint label too.
What sheen suits kitchen cabinets?
Show answer
Sherwin-Williams’ project page pairs its Emerald Urethane Trim Enamel with Gloss, Semi-Gloss or Satin sheen for a smooth, durable finish. Check the label of whichever product you choose.
Is lead a concern when sanding old cabinets?
Show answer
It can be. The refinishing guide warns that scraping or sanding old paint may release lead dust, and it recommends a NIOSH-approved respirator plus HEPA vacuum and wet mop cleanup.